Your trusted guide to authentic Italian cooking
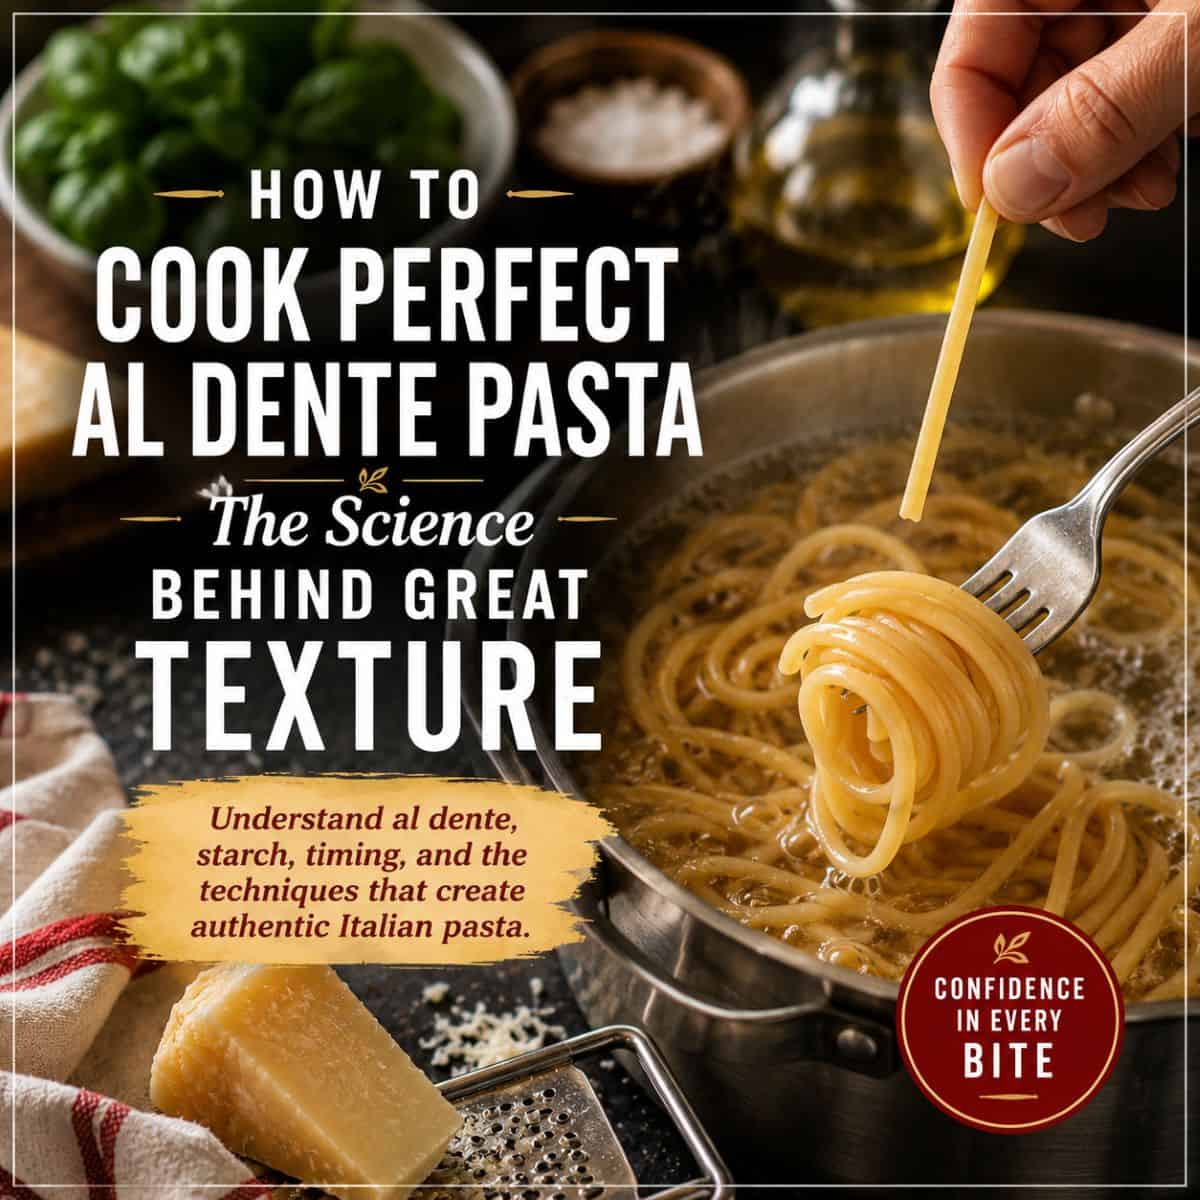
The Science Behind Authentic Italian Pasta Texture
The simple signs that tell you your pasta is perfectly cooked, every single time.
If you're wondering how to cook pasta al dente, start tasting it about 1 to 2 minutes before the package directions say it's done.
The pasta should feel tender on the outside with a slight firmness in the center. It shouldn't crunch, but it shouldn't be completely soft either.
Remember, authentic Italian pasta continues cooking for another minute when it's finished in the sauce, so it's better to stop slightly early than slightly late.
What You'll Learn
By the end of this lesson, you'll understand:
✓ What al dente really means
✓ How to tell when pasta is perfectly cooked
✓ Why restaurant pasta has better texture
✓ How starch changes while pasta cooks
✓ The mistakes that turn great pasta mushy
How Do You Know When Pasta Is Done?
It's probably the question that brings most people here.
You set the timer.
You stir the pot.
Then you wonder...
"Is it ready?"
Many home cooks trust the cooking time printed on the box.
Italian cooks trust something else.
Their senses.
The package doesn't know how hard your water is.
It doesn't know the shape of your pasta.
It doesn't know how vigorously your water is boiling.
Most importantly...
It doesn't know how you want your pasta to taste.
That's why experienced Italian cooks begin tasting the pasta before the timer finishes.
Not because they're ignoring the instructions.
Because they're paying attention to the food.
One bite tells you more than any clock ever will.
That's where cooking stops becoming a recipe...
...and starts becoming a skill.
The Italian Way
Italian cooks don't ask,
"How many minutes are left?"
They ask,
"How does the pasta feel?"
The timer starts the conversation.
Your senses finish it.
What Does Al Dente Really Mean?
One of the biggest misconceptions about Italian cooking is that al dente means undercooked pasta.
It doesn't.
The phrase literally means "to the tooth."
When you bite into perfectly cooked pasta, you should feel a gentle resistance at the center.
Not a crunch.
Not a hard white core.
Just enough firmness to remind you that the pasta still has structure.
That structure matters.
Pasta that's too soft struggles to hold onto sauce.
It can tear apart while tossing.
It loses the pleasant bite that makes every forkful satisfying.
Al dente pasta does the opposite.
It stays lively.
It holds its shape.
It finishes beautifully in the sauce.
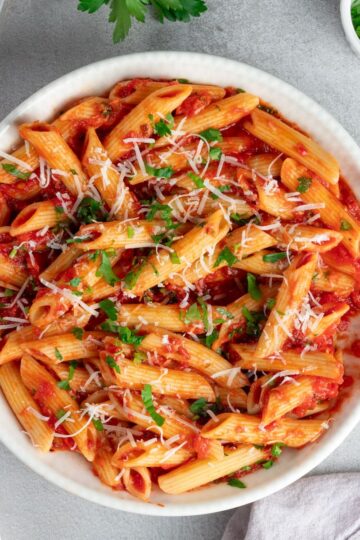
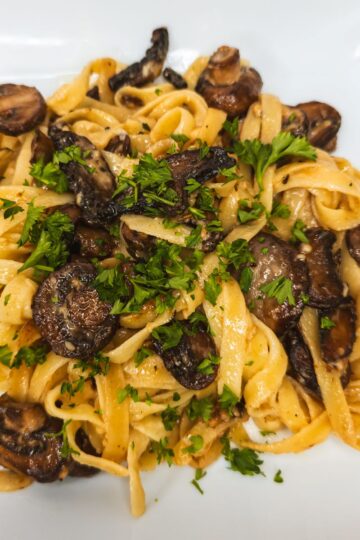
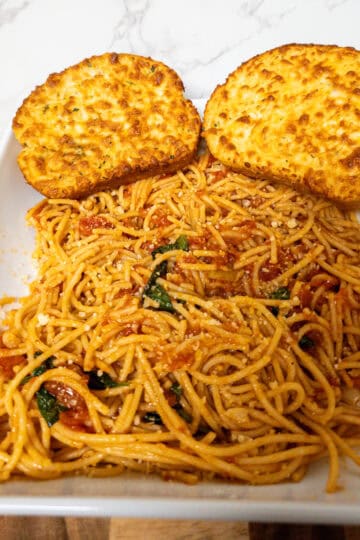
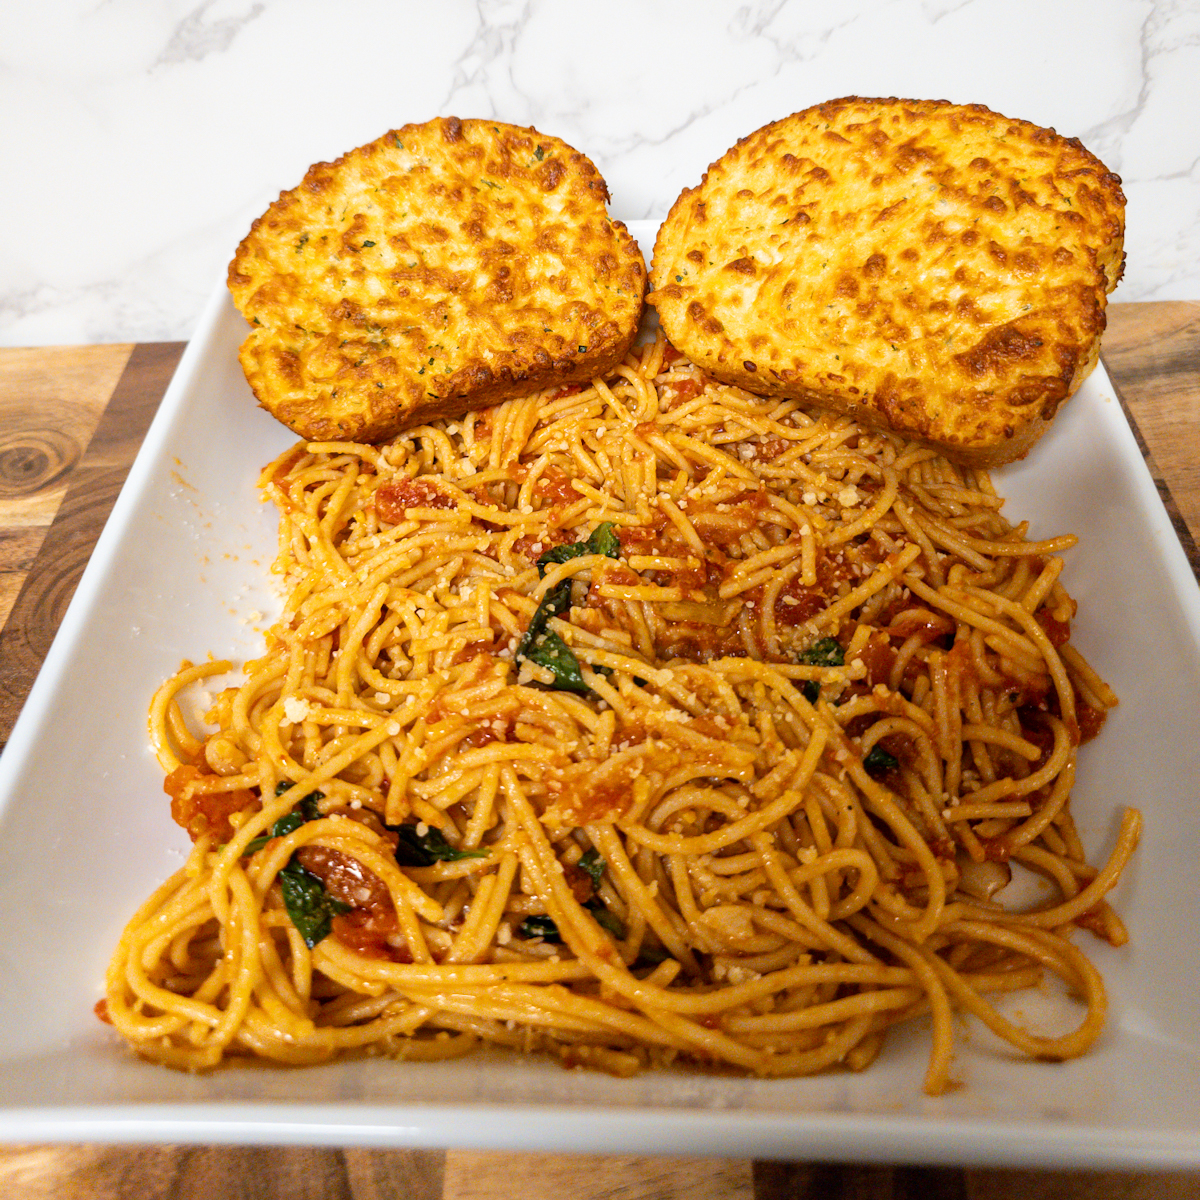
That's why authentic Italian pasta feels lighter, more balanced, and more enjoyable to eat.
If you've been following our Foundations lessons, you've probably noticed a pattern.
Italian cooking rarely asks for more ingredients.
It asks for more attention.
Texture is another perfect example.
Did You Know?
The word al dente doesn't describe a cooking time.
It describes a feeling.
Two different pasta shapes cooked for the same number of minutes can have completely different textures.
That's why tasting always beats guessing.
Why Restaurant Pasta Feels Different
Have you ever noticed that pasta at a great Italian restaurant feels...
Almost springy?
It isn't chewy.
It isn't soft.
It has just enough bite to make every mouthful satisfying.
That isn't an accident.
Professional kitchens don't rely on timers alone.
They taste constantly.
The chef checks the pasta.
Adjusts.
Tastes again.
Only when the texture is exactly right does it leave the pot.
That attention to detail is one of the biggest reasons restaurant pasta feels different.
And the best part?
There's nothing stopping you from doing exactly the same thing at home.
You don't need professional equipment.
You don't need expensive ingredients.
You simply need to trust your senses.
That's how confidence begins.
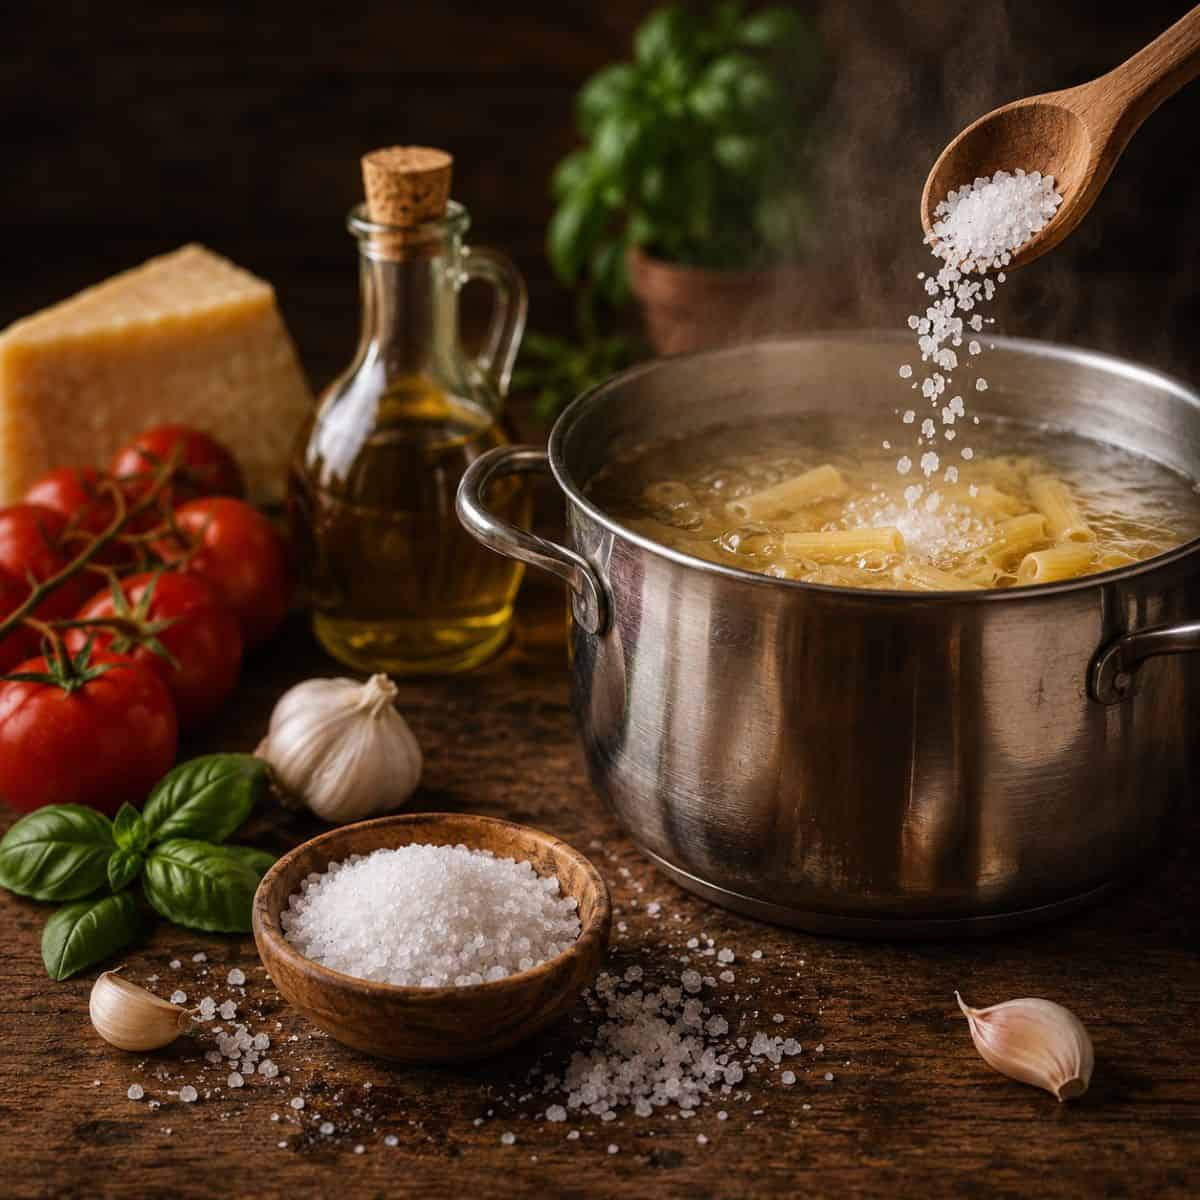
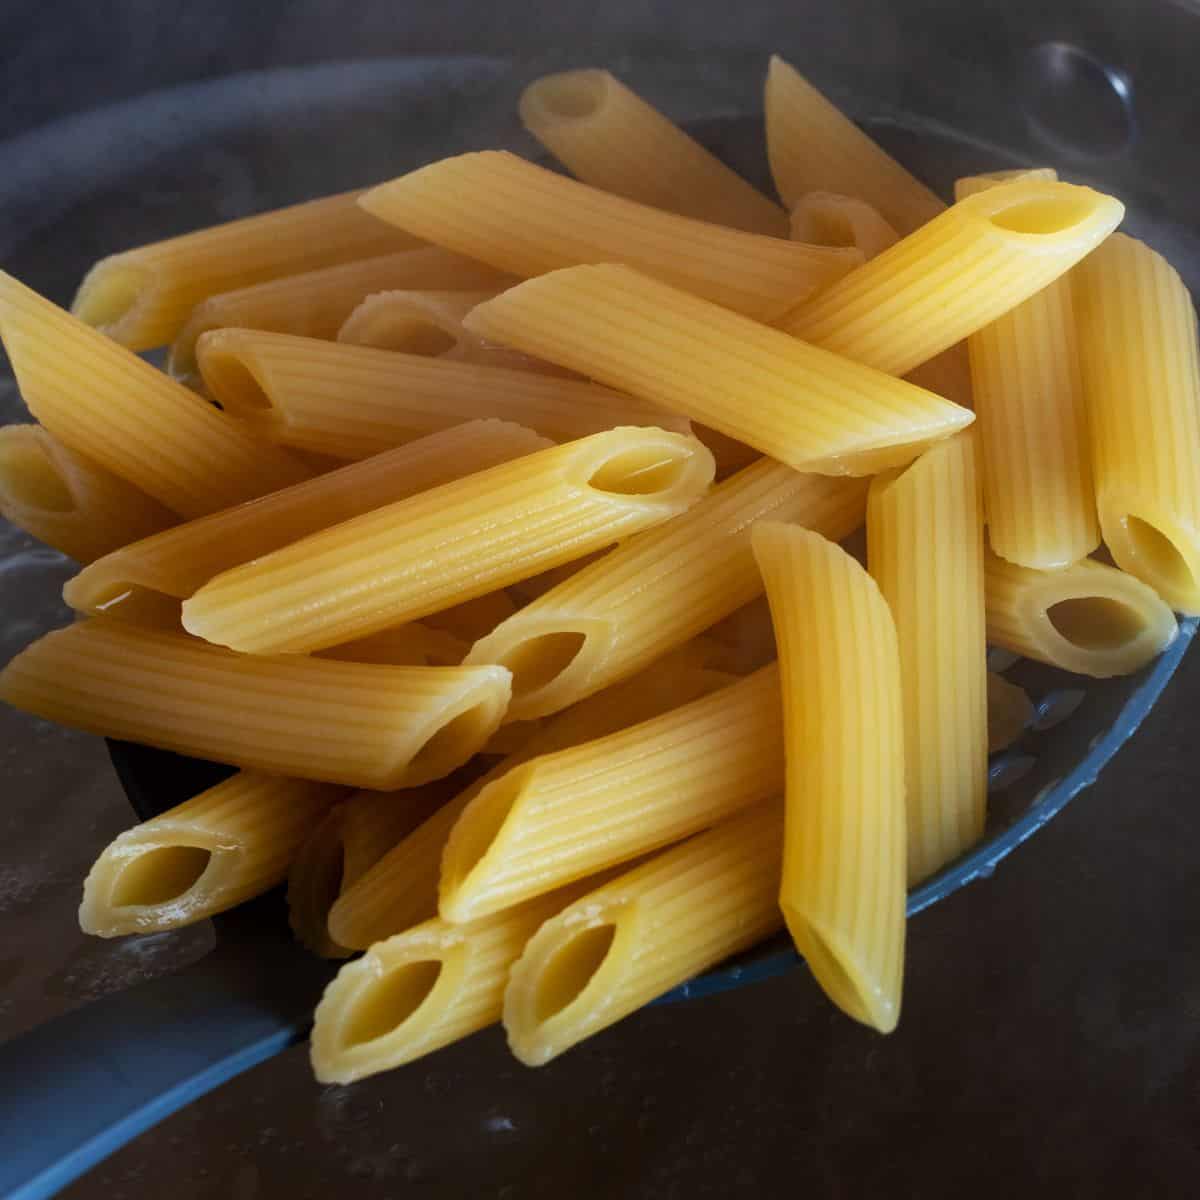
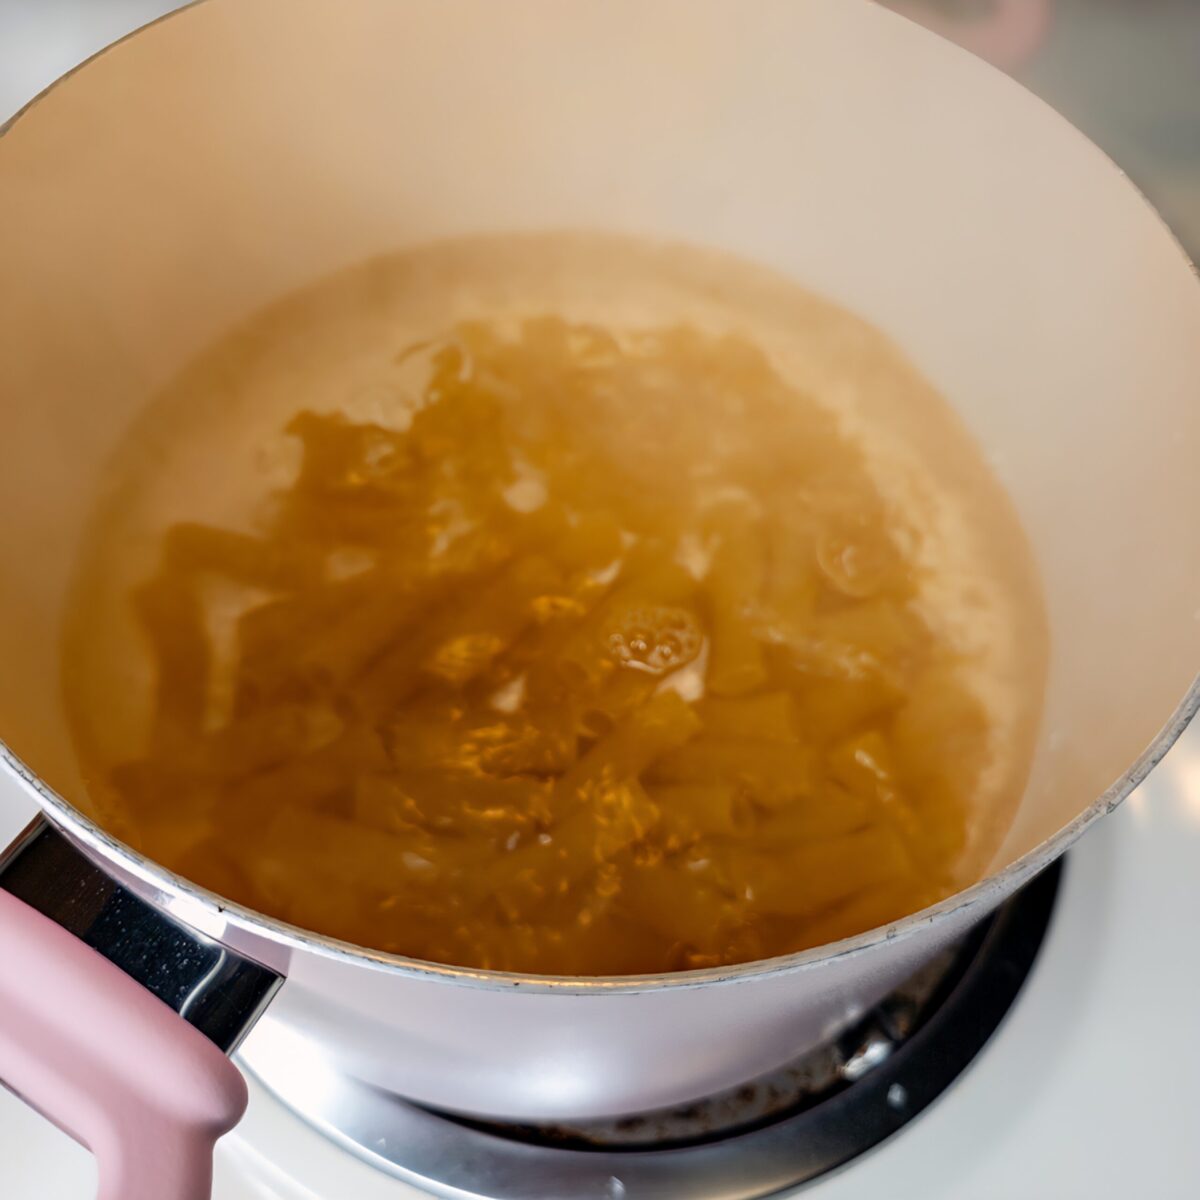
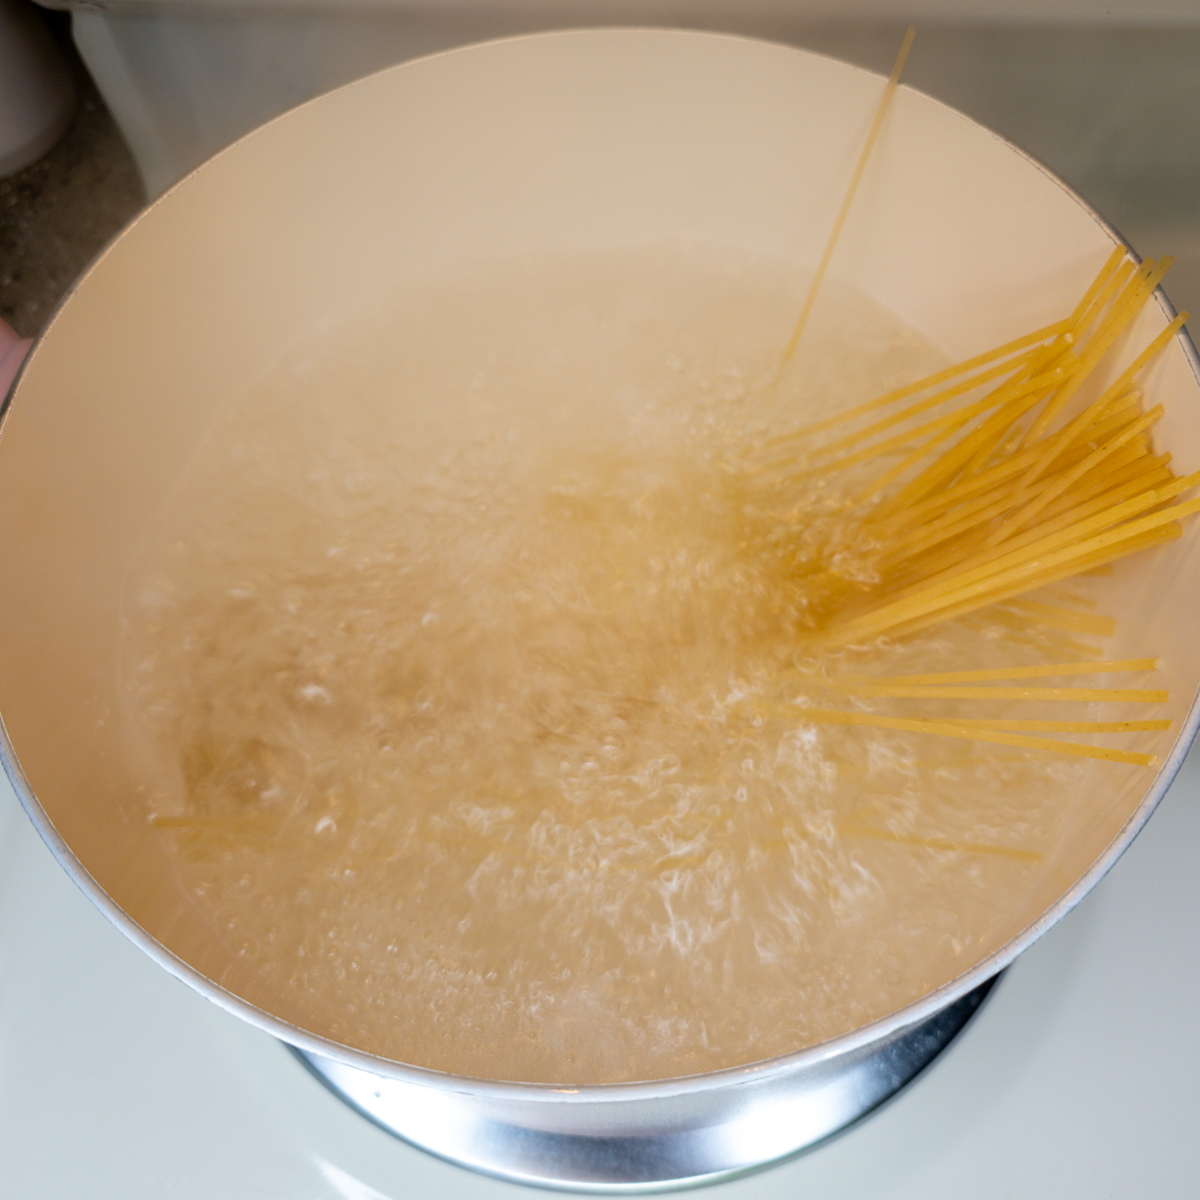
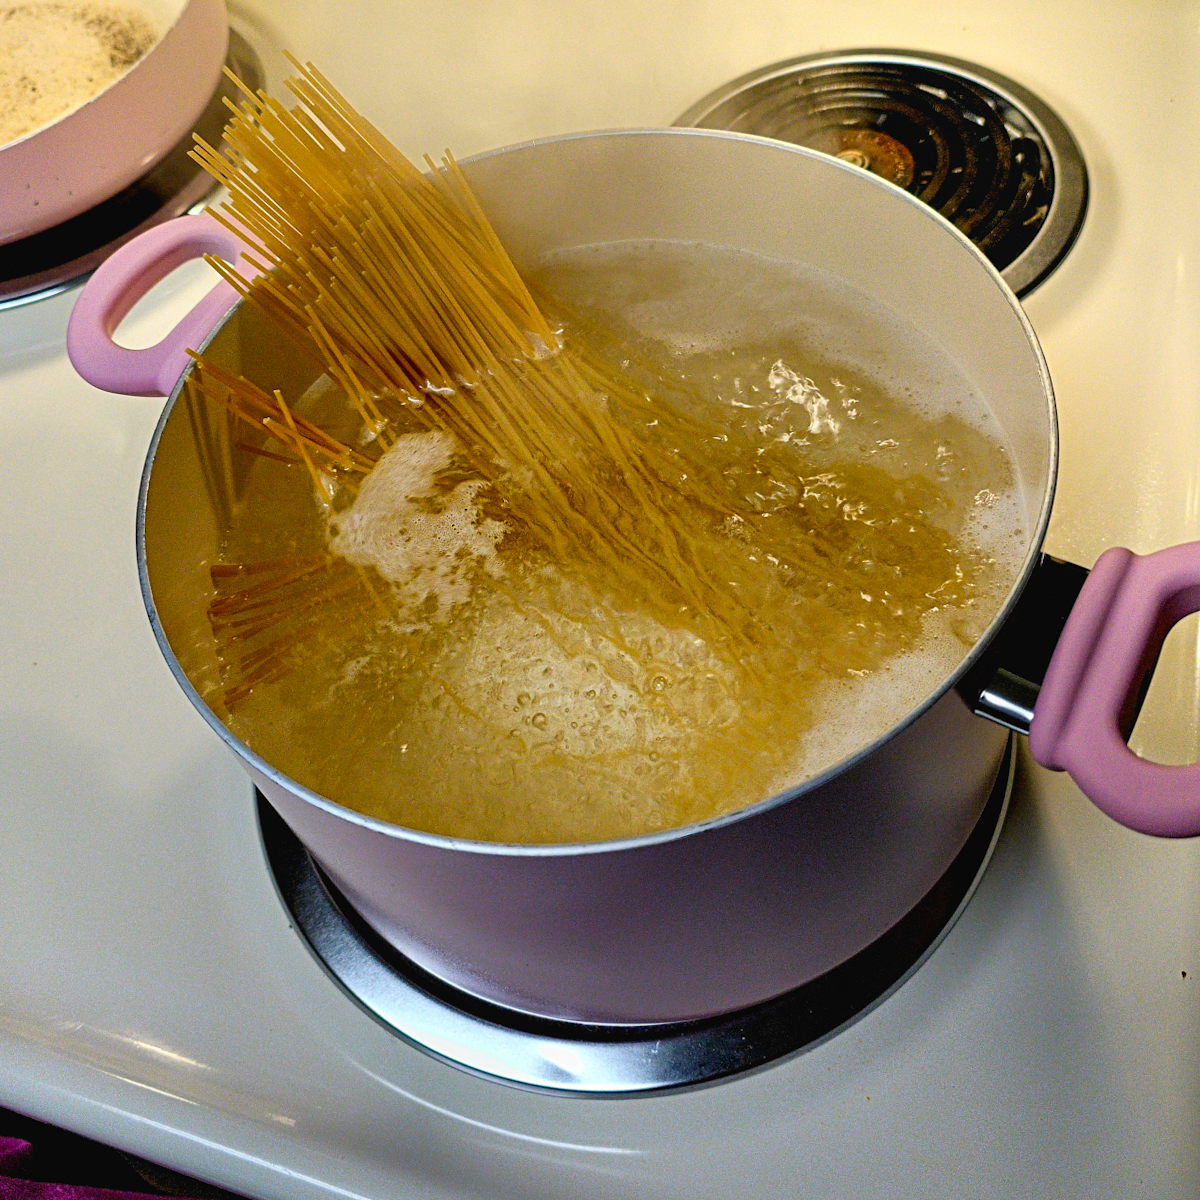
What Happens Inside The Pot
At first, dry pasta is hard and brittle.
The moment it enters boiling water, it begins to change.
Water slowly moves into the pasta while the starch inside starts absorbing moisture.
The outside softens first.
The center takes longer.
That's why pasta doesn't suddenly become al dente.
It passes through stages.
First, it's too firm.
Then it reaches the perfect balance of tenderness and structure.
Leave it in the water too long, and that structure begins to disappear.
The center softens completely.
The pasta becomes limp.
The pleasant bite is gone.
Understanding this process helps you stop relying on luck.
Instead of asking, "How many minutes are left?"
You'll start asking,
"Has the pasta reached its perfect texture yet?"
That's exactly how Italian cooks think.
Did You Know?
Pasta doesn't cook from the inside out.
It cooks from the outside in.
That's why the center is always the last part to become tender.
One extra minute can be the difference between perfectly al dente and overcooked pasta.
Why The Timer Is Only A Guide
Package directions are helpful.
They give you a starting point.
But they can't tell you exactly when your pasta is ready.
Every kitchen is different.
Your pot may be wider or narrower.
Your burner may boil harder or softer.
Even different pasta brands absorb water at slightly different rates.
That's why experienced cooks don't wait for the timer to beep before checking the pasta.
They begin tasting early.
Usually one to two minutes before the suggested cooking time.
That single habit gives you complete control.
Soon you'll notice something interesting.
You'll stop watching the clock.
And you'll start watching the pasta.
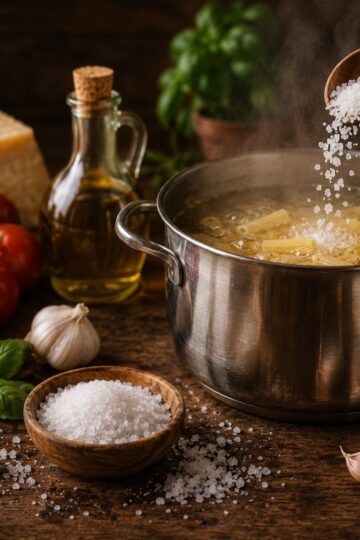
If you've read our lesson on The Right Way to Salt Pasta Water, you've already seen how paying attention to small details creates better pasta long before the sauce is added.
Texture follows the very same philosophy.
The Italian Way
Recipes teach you where to begin.
Experience teaches you when to stop.
Italian cooking is built on observation, not memorization.
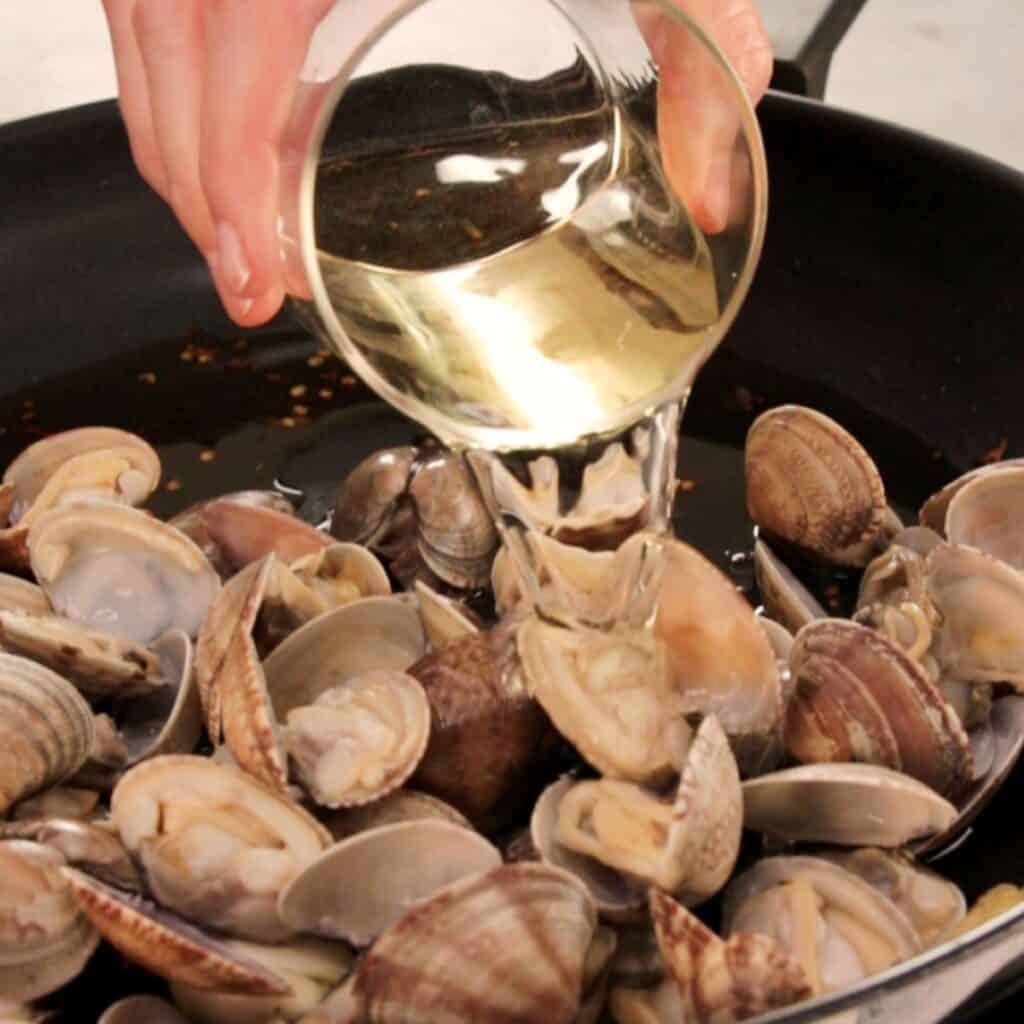
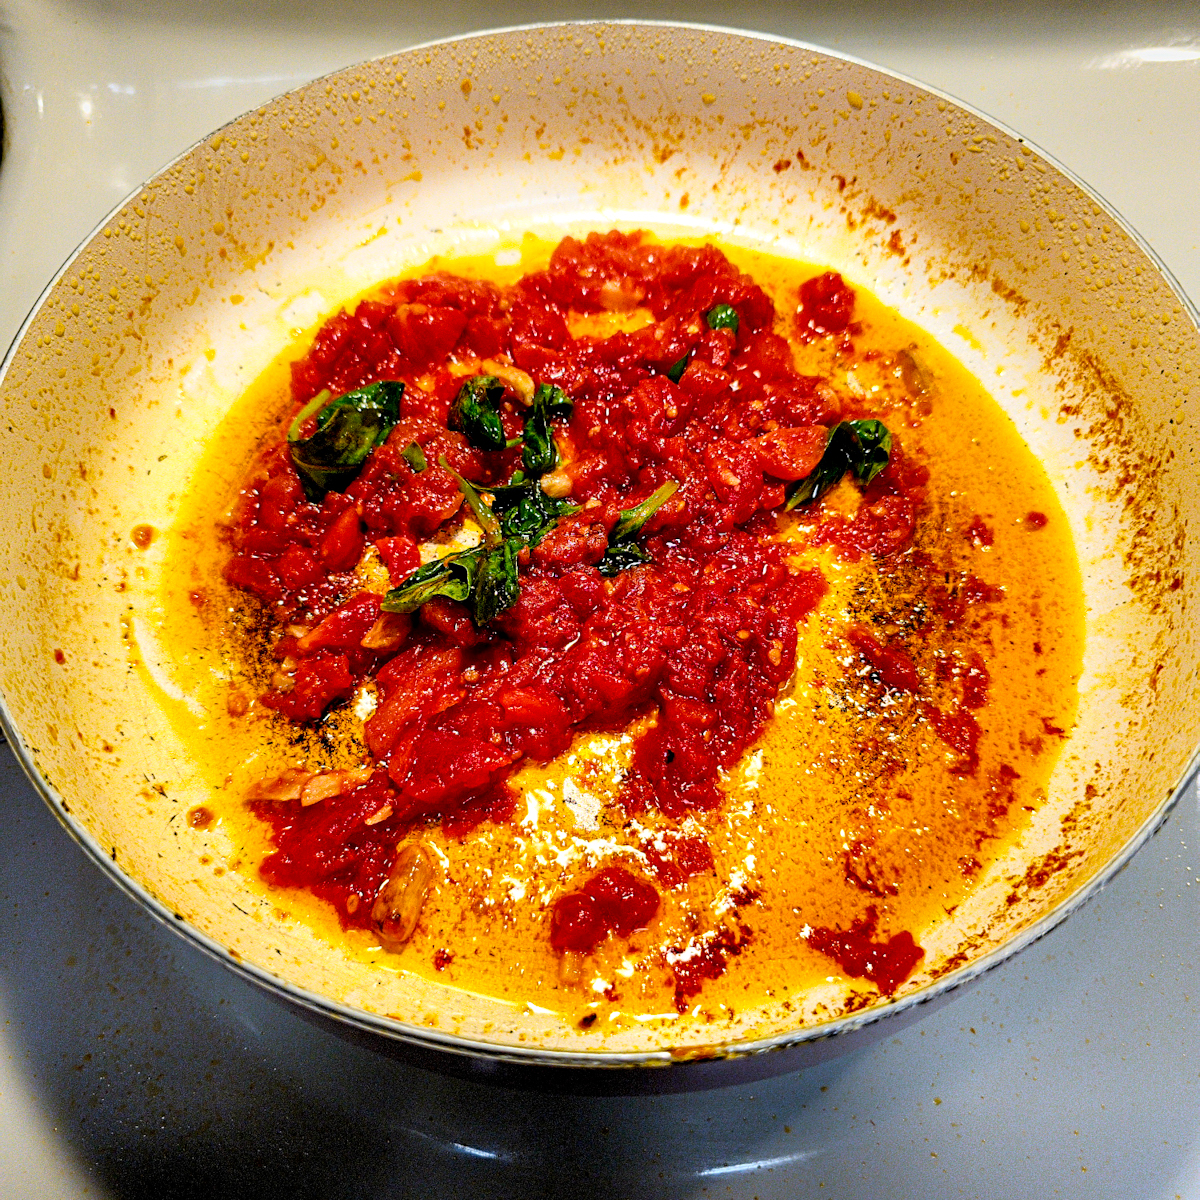
Why Starch Matters
There's another change happening while your pasta cooks.
As the noodles soften, a small amount of starch begins leaving the pasta and entering the cooking water.
That cloudy water isn't dirty.
It's valuable.
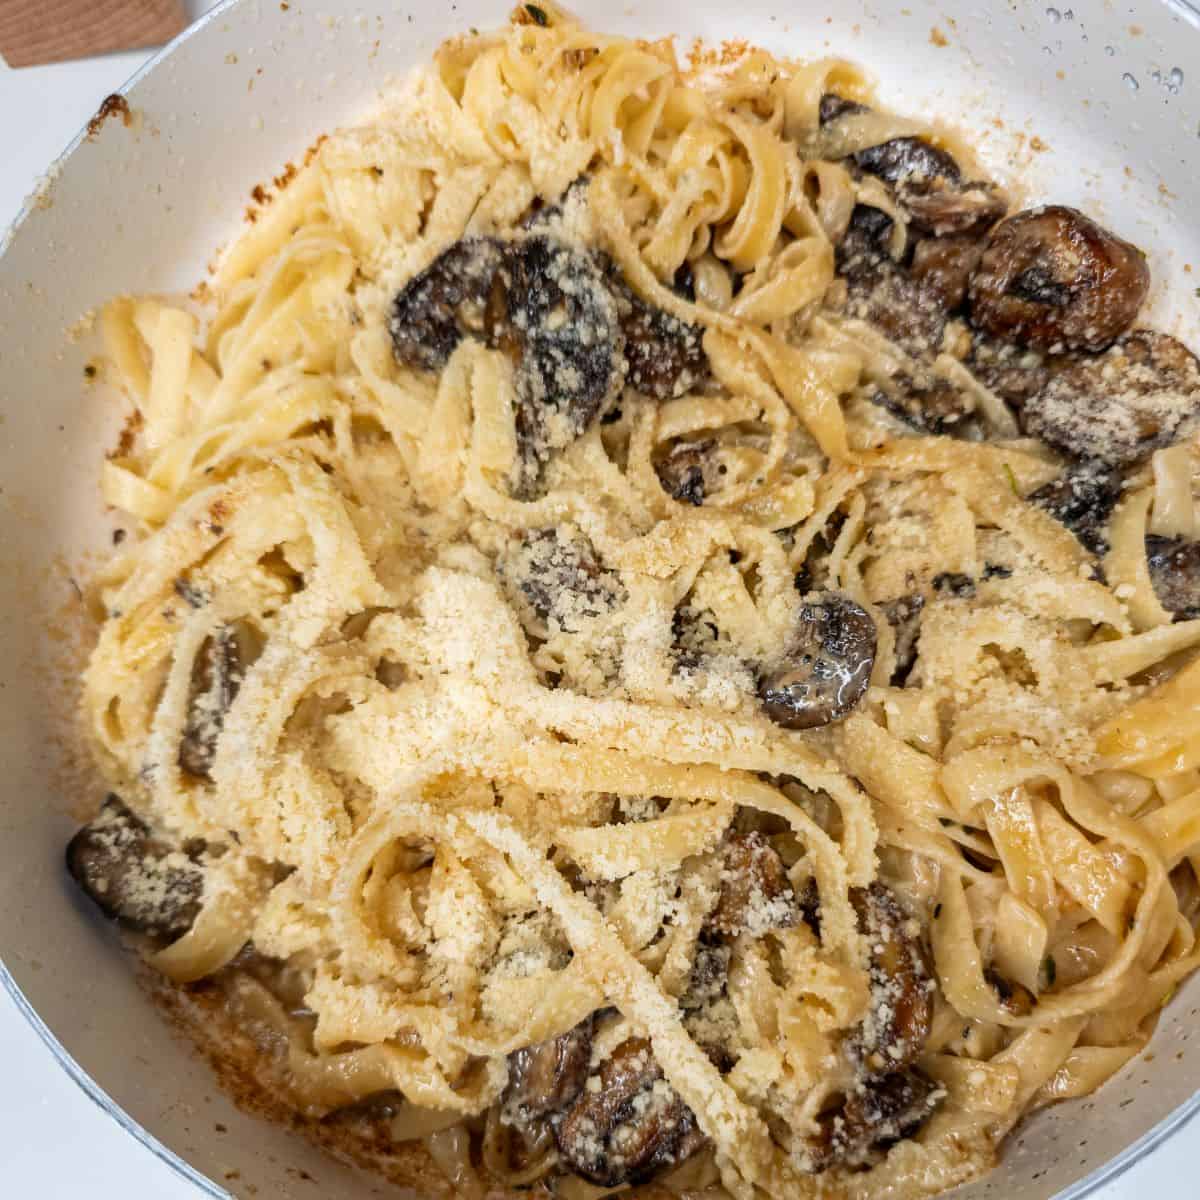
That starch is exactly what helps sauces become silky and glossy later.
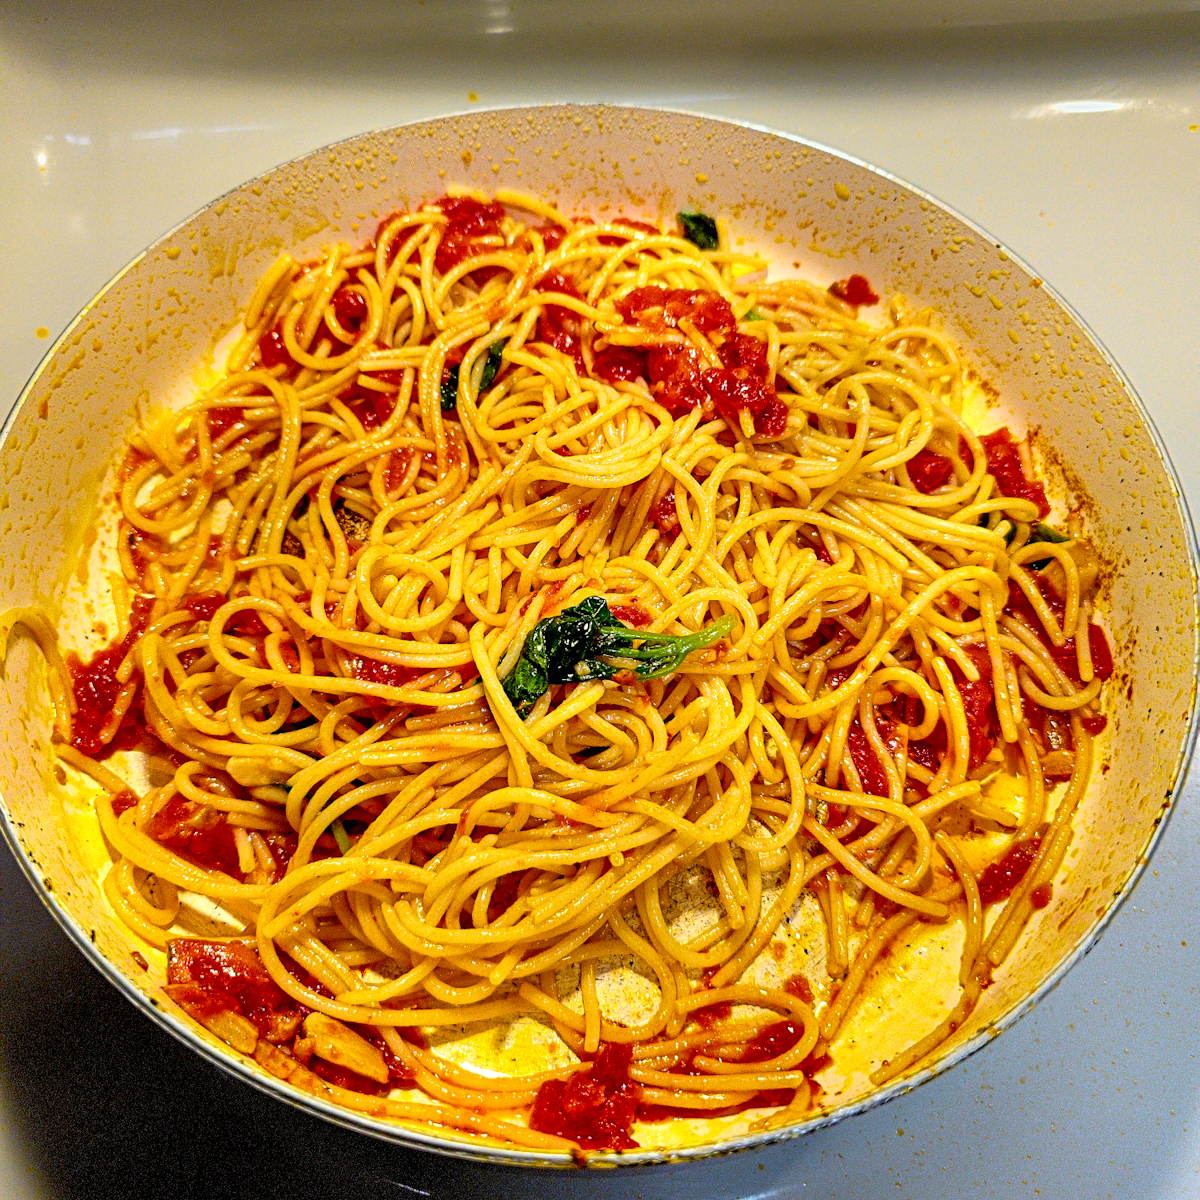
It's also one of the reasons you should never rinse pasta after draining it.
Rinsing washes away the starch that helps the sauce cling naturally to every noodle.
Instead, transfer the pasta directly from the pot into the sauce while that starch is still working for you.
It's one small decision that makes a surprisingly big difference.
If you'd like to see how this works in practice, continue with The Best Way to Finish Pasta in the Sauce, where we show how starch, pasta water, and gentle heat create restaurant-quality results.
Chef's Tip
Keep a fork or small spoon beside the stove.
When you think the pasta is close, remove one piece, let it cool for a few seconds, and taste it.
Don't cut it in half.
Don't squeeze it.
Bite it.
Your teeth will tell you everything you need to know.
How To Test Pasta Like An Italian
Forget throwing pasta at the wall.
Forget breaking noodles apart to look for a white center.
The simplest method is still the best.
Take one piece from the pot.
Let it cool for a moment.
Then take a bite.
Ask yourself three questions:
Is the outside tender?
Is there a gentle firmness in the center?
Would I enjoy eating an entire bowl with this texture?
If the answer is yes, you've found al dente.
If it still feels chalky, give it another 30 seconds.
If it feels completely soft, you've probably gone a little too far.
Don't worry.
Every pot teaches you something.
Confidence doesn't come from never making mistakes.
It comes from learning to recognize them.
While Your Pasta Cooks…
Go fish out one noodle.
Take a bite.
Don't think about the timer.
Think about the texture.
Is there still a little life in the center?
If so, you're getting close.
If this lesson has already made you feel more confident, now is a great time to send it to someone who's ever asked,
"What does al dente actually mean?"
Sometimes the best kitchen advice isn't a recipe.
It's learning what to look for before dinner ever reaches the table.
Why Italian Pasta Feels Lighter
One of the first things people notice after eating pasta in Italy is that it feels... different.
It's satisfying without being heavy.
The noodles have a pleasant bite.
The sauce clings naturally instead of weighing everything down.
Many people assume this comes from different ingredients.
The truth is much simpler.
It comes from respecting the texture.
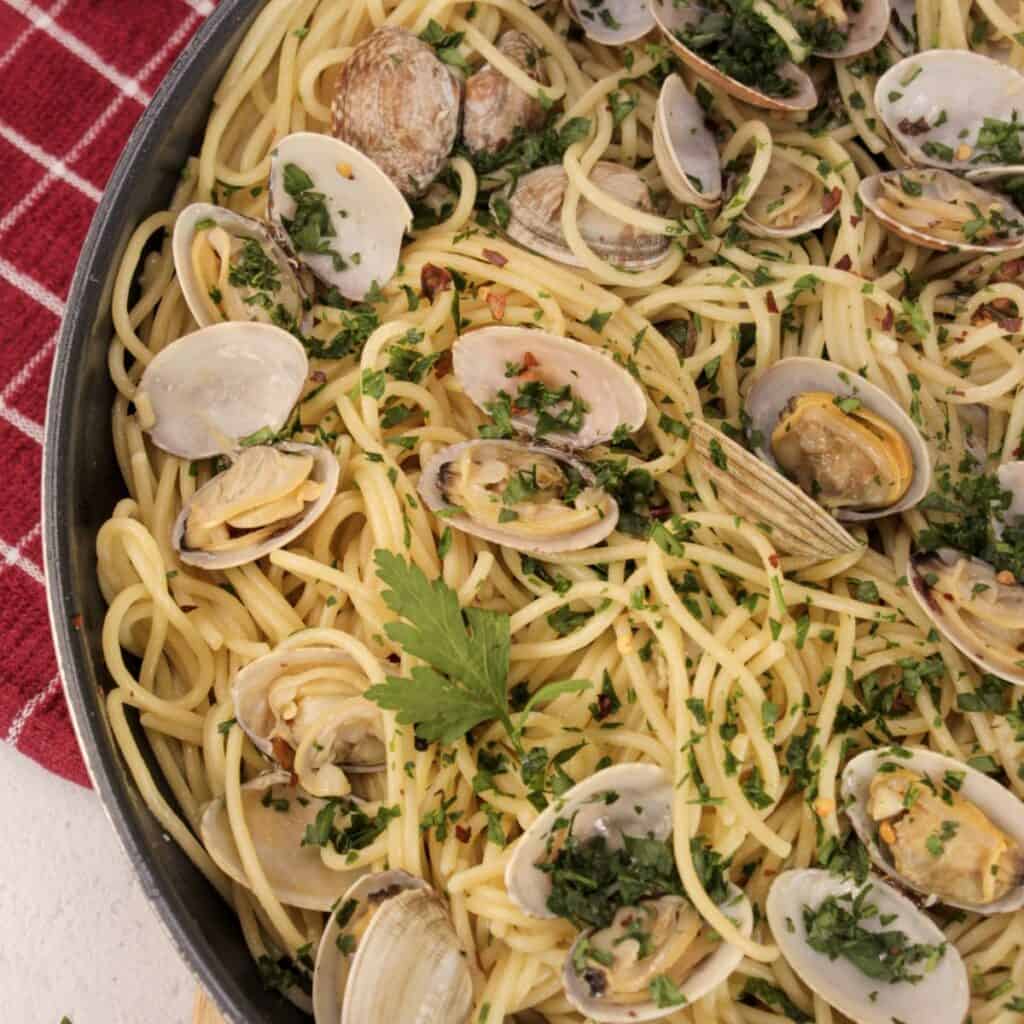
Pasta that's cooked to al dente keeps its structure.
That structure allows the sauce to coat each noodle instead of soaking into it.
Every bite feels balanced.
Nothing feels mushy or overloaded.
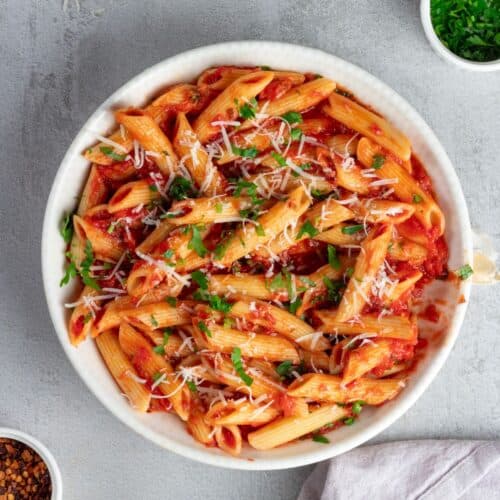
That's why authentic Italian pasta often feels lighter, even when the recipe itself is surprisingly simple.
Texture doesn't just change how pasta feels.
It changes how the entire meal is experienced.
Did You Know?
Many Italians would rather serve pasta a few seconds too firm than a minute too soft.
Why?
Because slightly firm pasta can continue cooking in the sauce.
Overcooked pasta can't be rescued.
Why Al Dente Matters Beyond Texture
Cooking pasta al dente isn't about following tradition for tradition's sake.
It serves a purpose.
Firm pasta stands up to tossing in the sauce.
It holds its shape on the plate.
It allows each ingredient to shine without becoming heavy.
Think of al dente as the foundation that supports everything else.
Without it...
Even the finest sauce struggles to create balance.
With it...
Simple ingredients become extraordinary.
That's why nearly every classic Italian pasta recipe begins with mastering texture first.
The sauce comes second.
The Italian Way
Italian cooking isn't about making pasta softer.
It's about stopping at exactly the right moment.
Knowing when to stop is often more important than knowing when to start.
What If Your Pasta Isn't Perfect?
Every cook has overcooked pasta.
Every cook has tasted a noodle too late.
Every cook has had dinner turn out softer than planned.
That's part of learning.
The important thing is recognizing what happened and knowing how to improve next time.
My pasta is too firm.
Give it another 20 to 30 seconds, then taste again.
Small adjustments are easier than large corrections.
My pasta is mushy.
Unfortunately, overcooked pasta can't regain its structure.
The best lesson is simply to begin tasting earlier next time.
My pasta stuck together.
This usually happens when pasta sits too long after draining or isn't tossed with the sauce right away.
Move it directly from the pot into the pan whenever possible.
My pasta broke apart while tossing.
It was likely cooked beyond al dente before entering the sauce.
Remember that the final minute happens in the pan, not only in the pot..
Most Common Pasta Texture Mistakes (And How to Fix Them)
Mistake: Waiting for the timer instead of tasting
Instead: Start tasting one to two minutes early.
Mistake: Rinsing cooked pasta
Instead: Keep the starch on the noodles so the sauce can cling naturally..
Mistake: Letting pasta sit in the colander
Instead: Transfer it directly into the sauce while it's still hot.
Mistake: Cooking until completely soft
Instead: Leave a slight firmness in the center.
The pasta will finish cooking in the sauce.
Mistake: Ignoring the final minute
Instead: Remember that authentic Italian pasta isn't finished when it's drained.
It's finished when it becomes part of the sauce.
Remember This
The perfect pasta texture isn't found by watching the clock.
It's found by trusting your senses.
One thoughtful bite tells you more than any timer ever will.
Still have questions? Here are the answers to the ones home cooks ask most when learning how to cook pasta al dente.
FAQs: How Cook Perfect Al Dente Pasta
Authentic answers for every Italian cooking question.
Al dente is an Italian phrase meaning "to the tooth." It describes pasta that's tender on the outside with a slight firmness in the center, creating the ideal texture for authentic Italian cooking.
The best way is to taste it. The pasta should no longer be hard, but it should still offer gentle resistance when you bite into it.
No. Properly cooked al dente pasta is fully cooked. It simply retains enough structure to create a pleasant bite and finish cooking in the sauce.
The most common reason is relying entirely on the package cooking time. Begin tasting the pasta one to two minutes early and finish it in the sauce.
No. Rinsing removes the surface starch that helps sauces cling naturally to the pasta.
Pasta retains heat after leaving the boiling water. When transferred into a warm sauce, it continues cooking for another minute, which is why Italian cooks remove it from the pot slightly before it's fully done.
Professional cooks constantly taste the pasta, finish it in the sauce, and rely on experience instead of the timer alone. Those habits create consistently balanced texture.
The principle is the same, but fresh pasta cooks much faster than dried pasta. Taste frequently and rely on texture rather than time.
The Italian Lesson
One of the greatest lessons pasta can teach has nothing to do with pasta.
It's about paying attention.
Italian cooking asks you to slow down just enough to notice what's happening.
To taste instead of guess.
To observe instead of rush.
Perfect pasta texture isn't achieved because someone memorized a cooking time.
It's achieved because someone took one thoughtful bite.
That's a lesson that carries into every Italian dish you'll ever make.
Great cooking isn't built on perfect recipes.
It's built on awareness.
And awareness is where confidence begins.
Your Next Lesson Awaits...
Every great Italian cook learns one technique at a time.
Continue building your confidence with these related lessons.
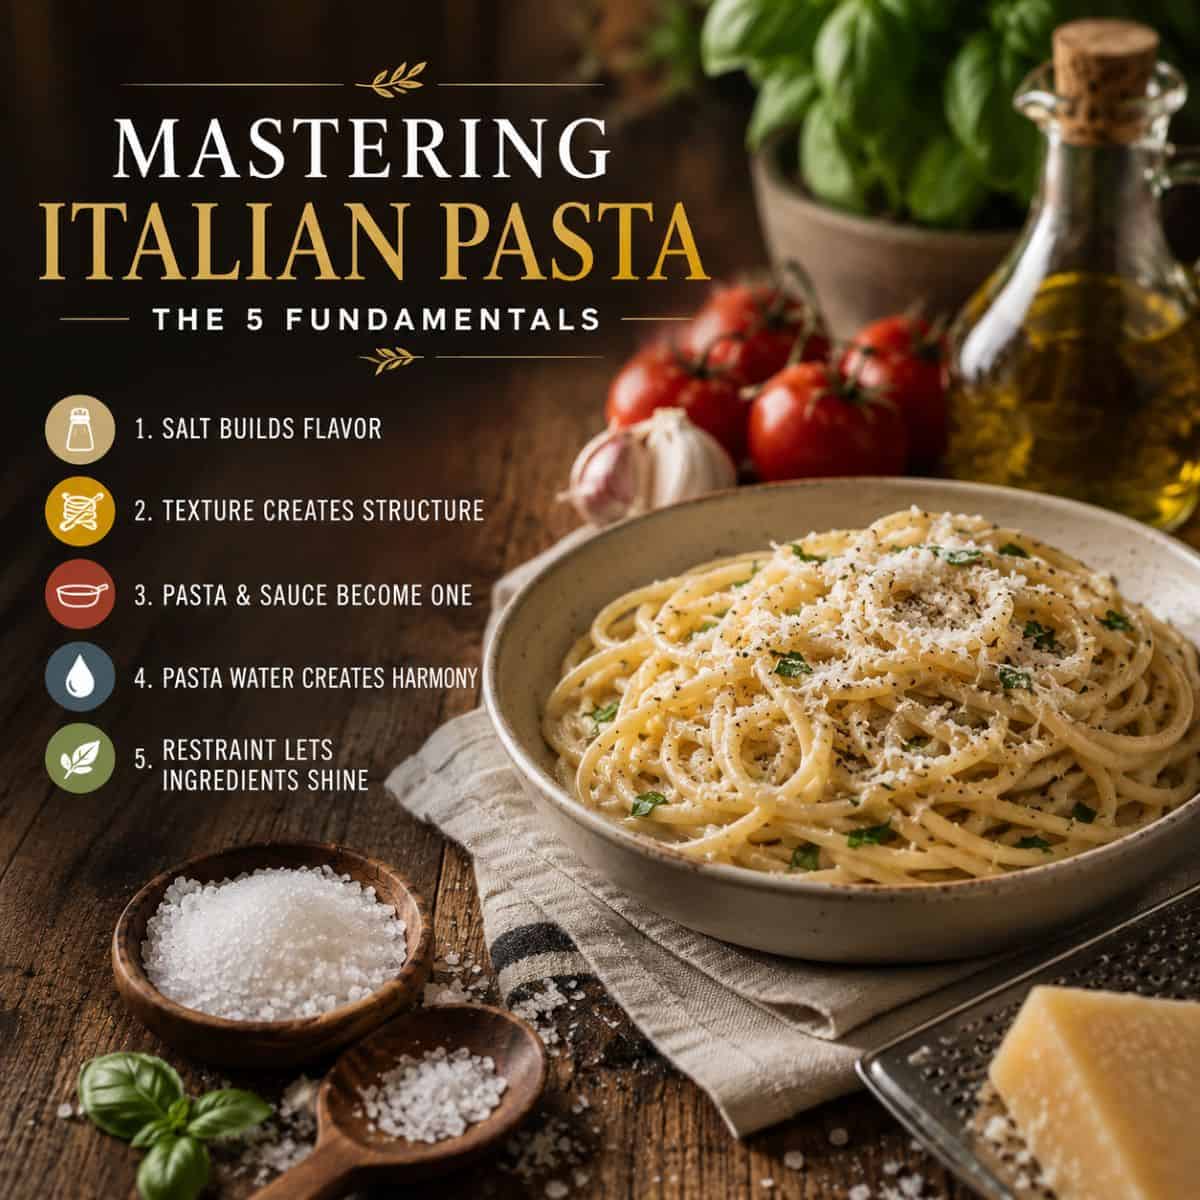
Mastering Italian Pasta: Salt, Sauce & Texture
Learn the five fundamentals that transform ordinary pasta into authentic Italian dishes, from seasoning and texture to sauce integration.
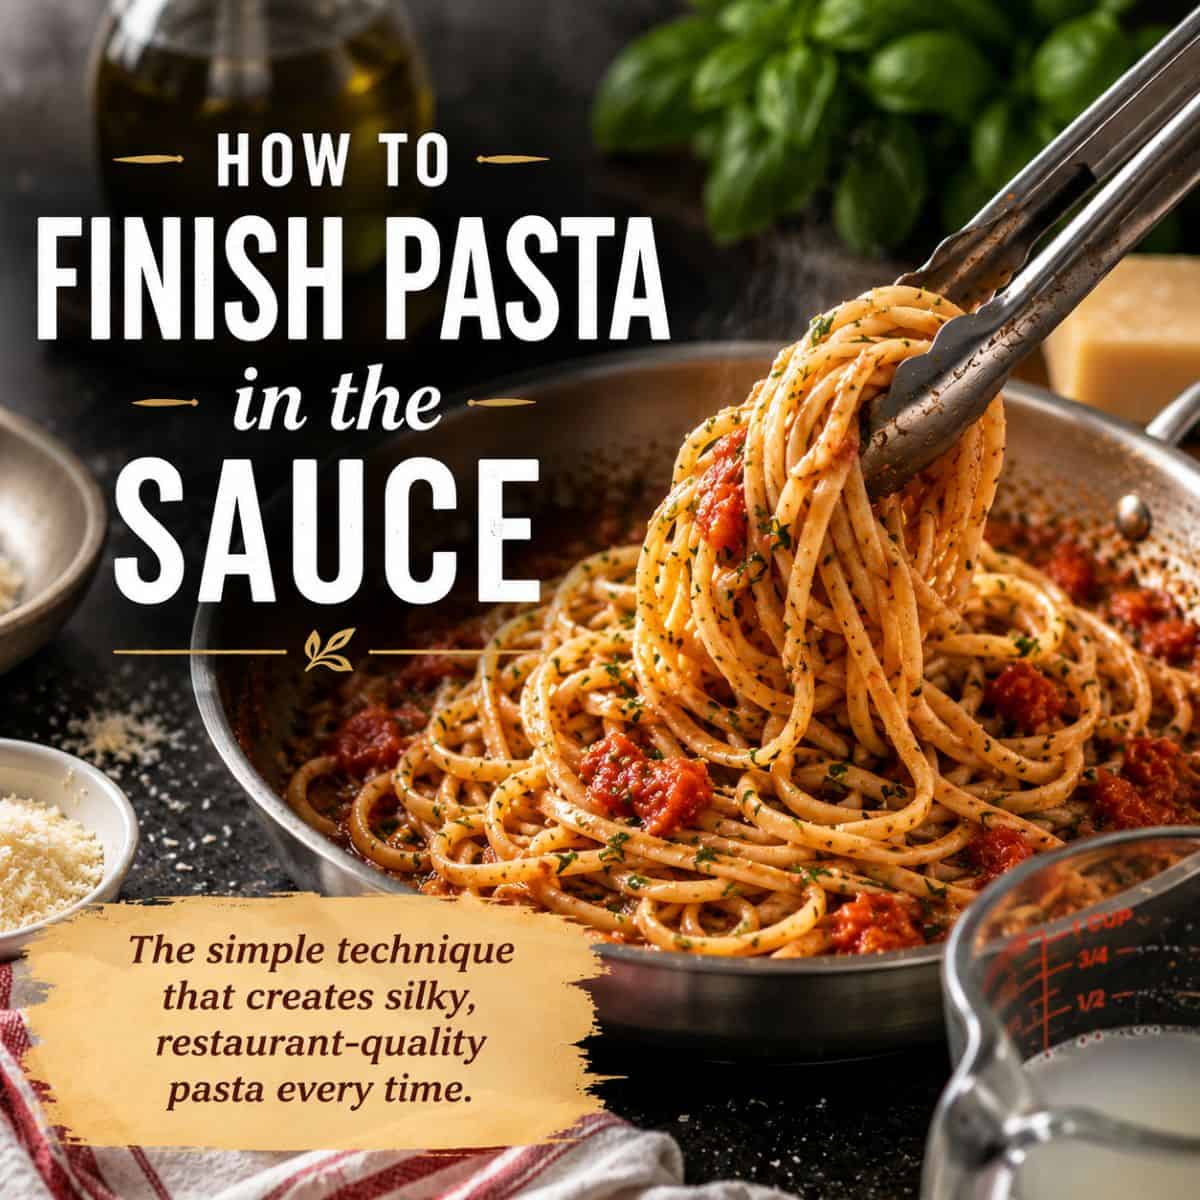
The Best Way to Finish Pasta in the Sauce
Discover why one final minute in the pan creates silky, restaurant-quality pasta and helps every sauce cling beautifully.
The Right Way to Salt Pasta Water
Master one of the simplest yet most important techniques in Italian cooking by learning when, why, and how much salt to add.
How to Balance Salt, Fat & Acid Like an Italian Chef
Explore how professional Italian cooks use balance to create dishes that taste vibrant, harmonious, and never overwhelming.
JOIN THE ITALIAN KITCHEN
Every great Italian meal begins with curiosity.
Every week you'll discover authentic recipes, practical techniques, ingredient guides, and the traditions behind Italy's greatest dishes.
✓ Cook authentic Italian recipes with confidence
✓ Master techniques used in Italian kitchens
✓ Learn ingredients that make every dish better
✓ Discover the traditions behind every recipe
From our kitchen to yours.
Every lesson at Italian Cooking Ideas is written to help you cook authentic Italian food with confidence, one technique at a time.
Until next time...
We'll see you in the kitchen.